Mommy's Milk Cheese

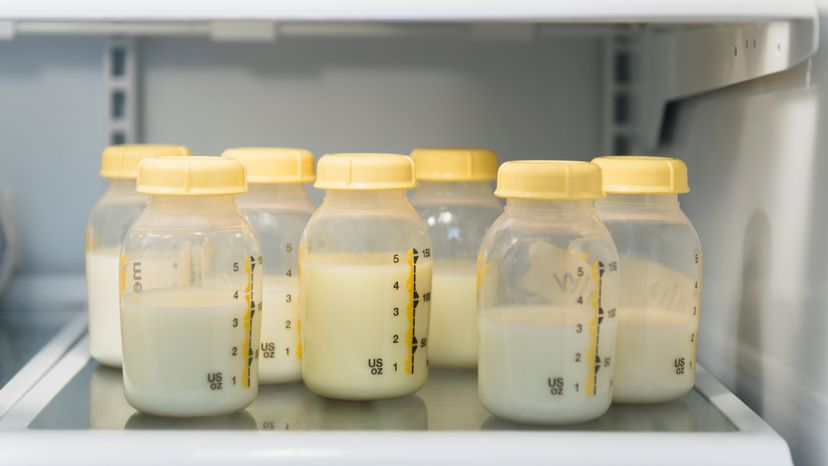
An image showing feeding bottles containing milk.
Breast milk, also known as mother's milk, is made from a mammary gland located in a female's breast. Breast milk can also be used to make cheese. Jamie Grill / Getty Images

Are you a lactating lady concerned about wasting perfectly good breast milk? Then get ready to roll up your sleeves and whip up some very local fromage.

It's Mommy's Milk Cheese courtesy of NYC Chef Daniel Angerer whose wife once found herself with an abundance of pumped breast milk after giving birth to a baby girl. They first planned on donating it to an infant milk bank collecting for babies in Haiti. But with required long checkups and a small freezer, the milk was accumulating fast.

Advertisement

For Angerer and his wife, aged and cultured breast milk seemed a natural answer to reuse, and with his restaurant patrons requesting samples, he figured why not and began serving Mommy's Milk Cheese. The New York Health Department on the other hand, though without an official code that forbids the practice, decided the queso was controversial and asked him to stop serving it.

Unless you fall into the queasy camp, breast milking moms who are curious to make their own can. Here is the recipe via Angerer's blog:

Advertisement

Yield

Basic recipe using 8 cups of any milk yields about 1/2 pound cheese

Advertisement

Ingredients

  • 2 cups mother's milk
  • 2 cups milk (just about any animal milk will work)
  • 1 1/2-teaspoon yogurt (must be active cultured yogurt)
  • 1/8-tablet rennet (buy from supermarket, usually located in pudding section)
  • 1 teaspoon sea salt such as Baleine

Advertisement

Preparation

  1. Inoculate milks by heating (68 degrees Fahrenheit) then introduce starter bacteria (active yogurt) then let stand for 6-8 hours at room temperature, 68 degrees F covered with a lid. Bacteria will grow in this way and convert milk sugar (lactose) to lactic acid. You can detect its presence by the tart/sour taste.
  2. After inoculating the milk heat to 86 degrees Fahrenheit then add rennet (I use tablets that I dissolve in water) and stir throughout. Cover pot and don't disturb for an hour until "clean break stage" is achieved, meaning with a clean spoon lift a small piece of curd out of the milk. If it is still soft and gel-like, let pot stand for an hour longer. If curds "break clean," cut with a knife into squares (cut inside the pot a 1/2-inch cube pattern).
  3. Raise temperature slowly, continuously stirring with a pastry spatula (this will prevent clumping of cut curd). This is what I call the "ricotta stage"; if you like this kind of fresh cheese, here it is. For cheese with a little bit more of texture, heat curds to 92 degrees F for soft curd cheese, or as high 102 degrees F for very firm cheese. The heating of the curd makes all the difference in the consistency of the cheese. When heated, the curd looks almost like scrambled eggs at this point (curd should be at bottom of pot in whey liquid).
  4. Pour curd through a fine strainer (this will separate curd from whey) then transfer into a bowl and add salt and mix with a pastry spatula (this will prevent curd from spoiling). Whey can be drunk; it is quite healthy, and its protein is very efficiently absorbed into the bloodstream, making it a sought-after product in shakes for bodybuilders.
  5. Give curd shape by lining a container with cheesecloth (allow any excess of cheesecloth to hang over edges of container). Transfer drained, warm curd in the cheesecloth lined container (I used large plastic quart containers like a large Chinese take-out soup container and cut four holes in the bottom with the tip of my knife). Fold excess cheese cloth over top of cheese then weight curd down (with second container filled with water or such) then store in refrigerator 14 hours or so. Put container into a second larger container as this will catch draining whey liquid.
  6. Take pressed curd out of container (flip container upside-down then unwrap carefully not to damage structure of pressed curd). Rewrap pressed curd with new cheesecloth then age in refrigerator for several weeks (cheese will form a light brown skin around week two - this is normal). Age cheese longer for a more pronounced/sharper cheese flavor.

Advertisement

Advertisement

Loading...